Friday, July 29, 2011

Unreal UDK Level 02

I realized after my last post, that the image of the pillar was screwed up. This was because I originally built the mesh with holes in the top and bottom and used a brush to create its shadow. Also, I forgot to turn on cast shadows inside the mesh properties.. silly me...

After the post, I went back and capped the ends, this makes it so that UDK will calculate lighting for it, and therefore make it look better and save me a lot of time.

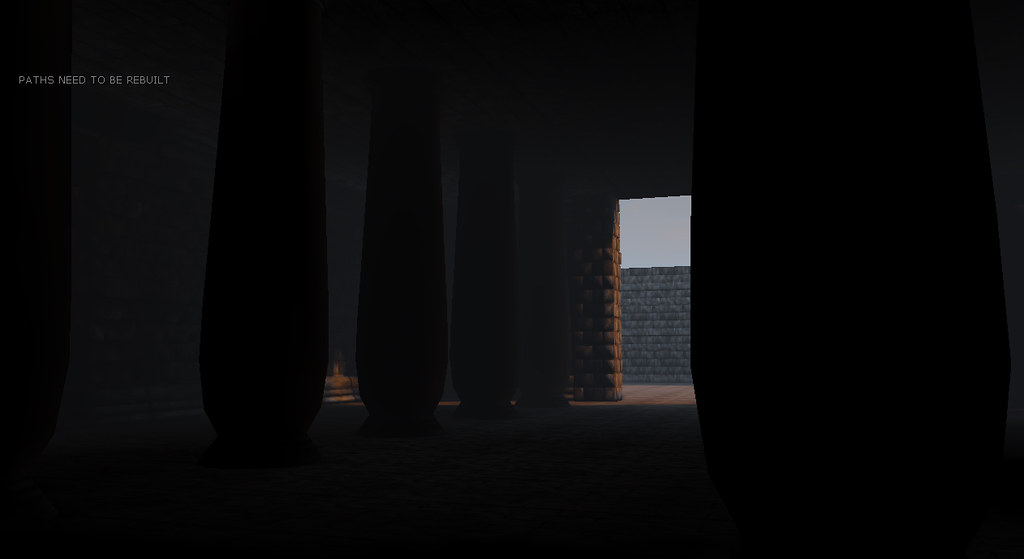
After all of that, this is what it now looks like.


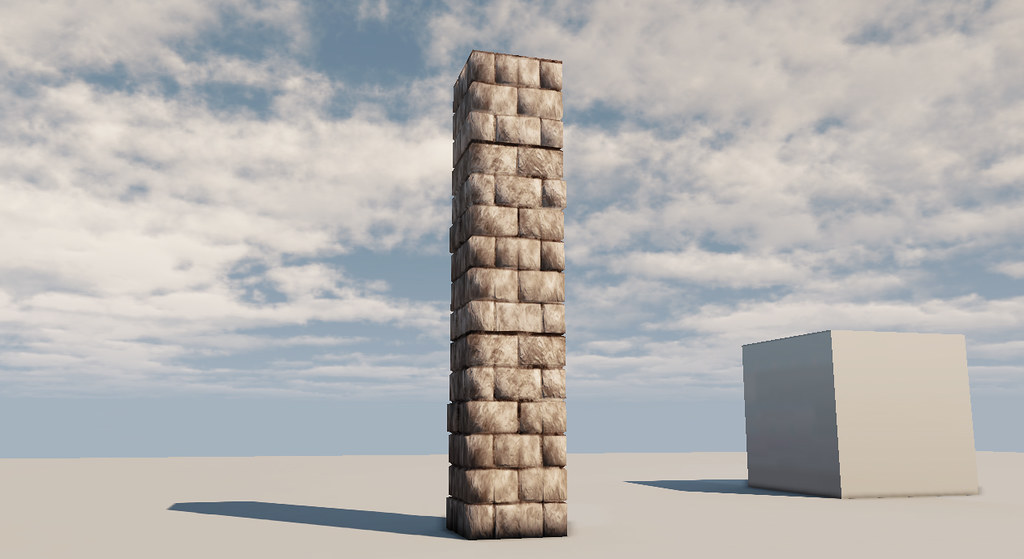
There is still some strange stuff going on on the darkside. I think that has to do with unused topology. Maybe I should clean that up.

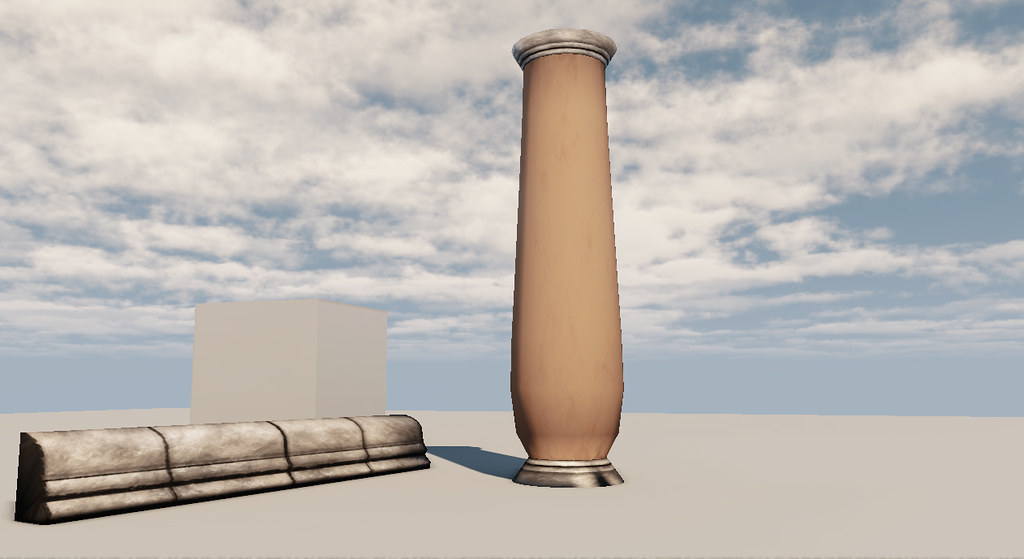
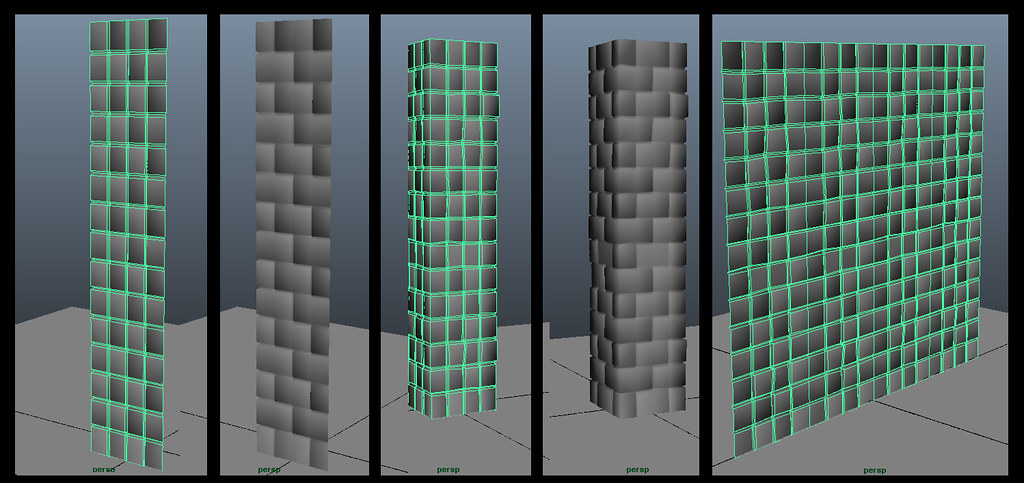
Well, After I more or less finished the wall and the first pillar I made a simple column and a border. These are both super simple meshes. I like to keep things as simple as possible when more detail is not necessary.


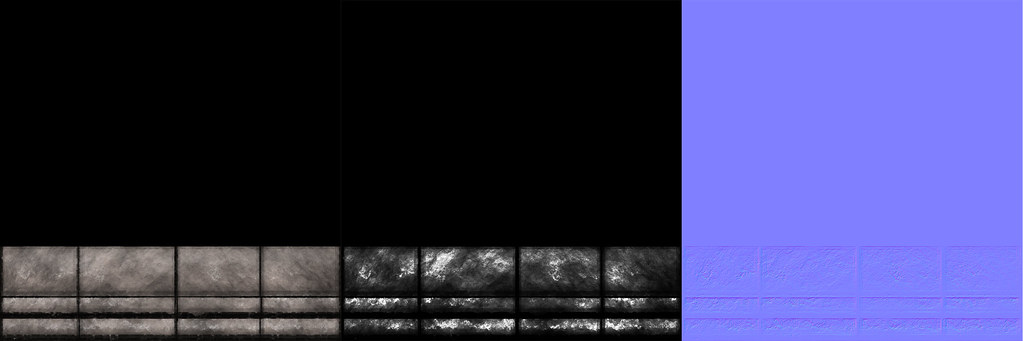
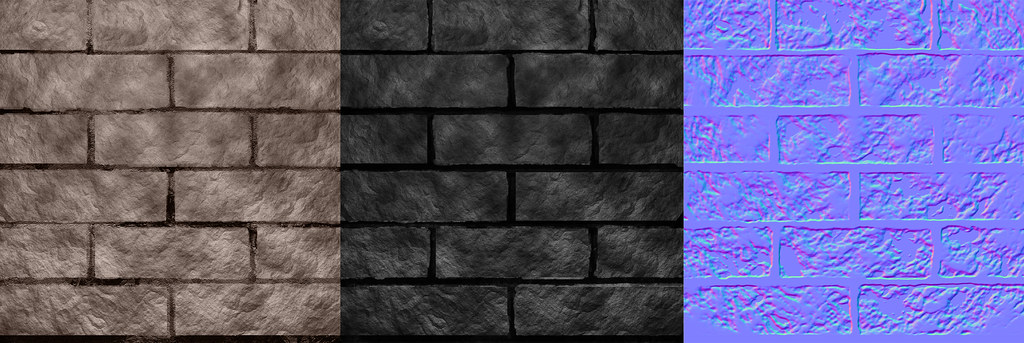
Here are the textures for both these objects. The pillars base texture was all painted. The border was a mix of filters and painting just like the stones. I forgot to mention in my last post that the normal maps i am using are just generated from the texture. I didn't feel it was necessary to bring these models into zbrush for this project. They look good enough without it.


Here is what they look like in the engine when I imported them. As you might be able to see, I also capped these ones off too.


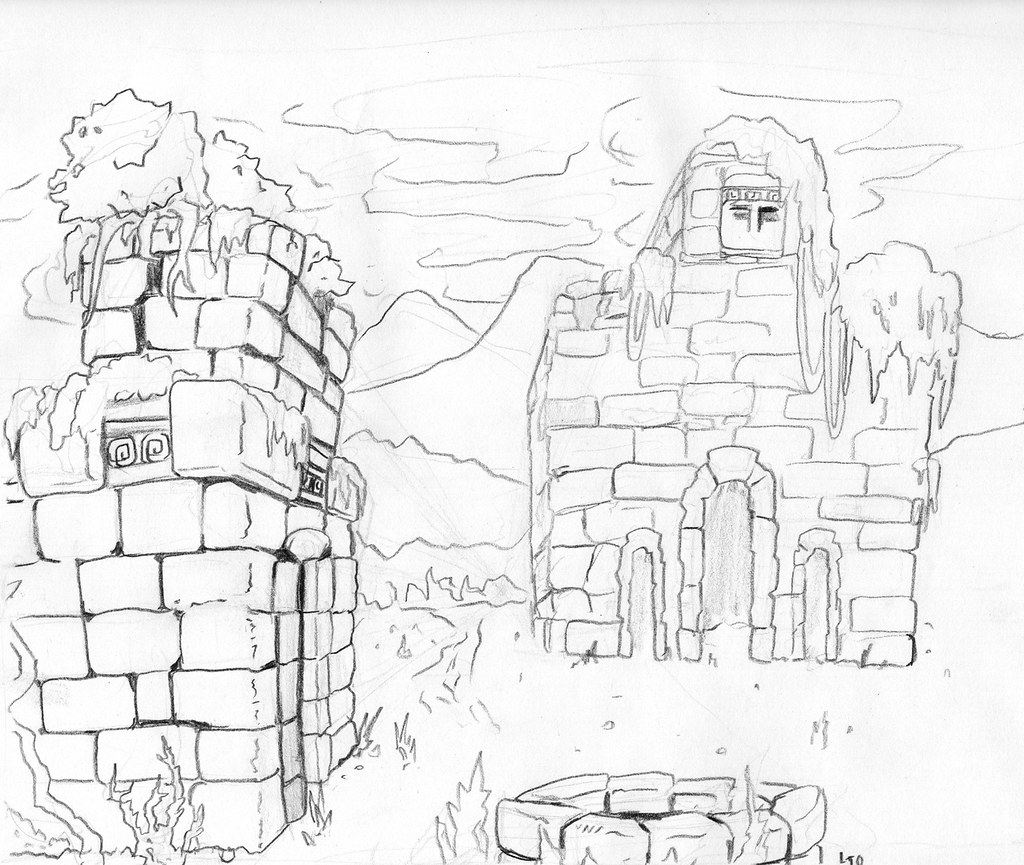
After those were finished, I started imagining what the layout of the level might be like. I thought of some bigger ideas, but I decided to keep it simple because I wanted to keep this a small project.

Here is the basic map I came up with. It isn't pretty, it is just utilitarian.


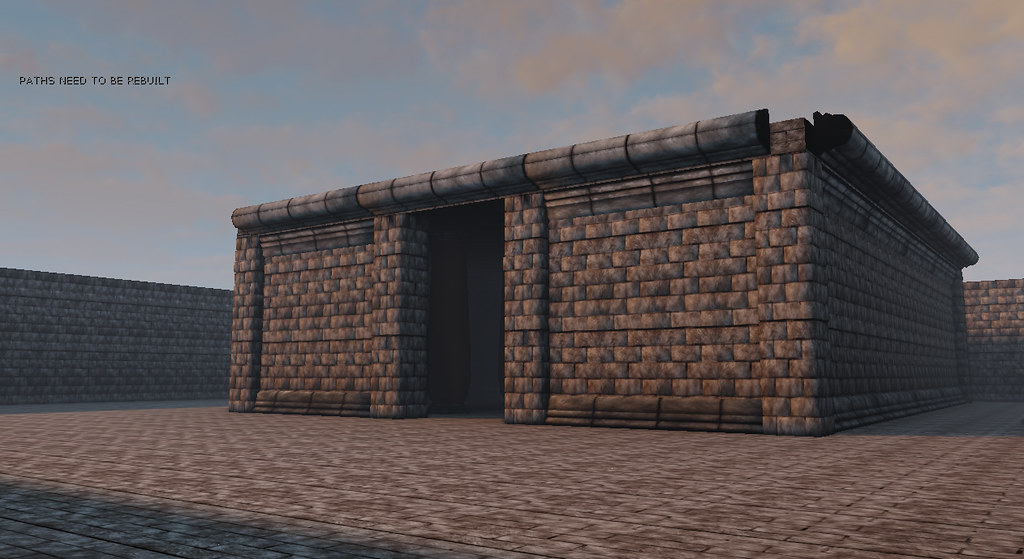
Here is where I have gotten to so far. I have the base wall and interior of the temple built. And I have the outer perimeter wall built. I still need to build a roof for the temple and build the courtyard garden outside the temple. Also the altar isn't finished. Despite all the missing stuff, I think it is coming along nicely.


That is all for now, I should have some more stuff to show about this soonish..

Thursday, July 28, 2011

unreal UDK level

I started planning and building a small UDK level yesterday.

I began by doing some sketches of the sort of feel that I wanted..

I liked these concepts. I liked the idea of lots of rough hewn stone bricks..


From there I started working on some static meshes in maya.


I made a small piece first, then I used that piece to make both a wall and a pillar.

I mapped the small piece to work with a single repeating texture. I made textures in photoshop.
These textures were made with a combination of filters and painting, not photos were used.

I started by using a combination of filters to make a realistic stone texture. The process was, clouds, add noise on one layer, then on an alpha channel use difference clouds and noise. Then on the first layer, use lighting effects with the alpha made earlier as the texture channel.
If done correctly you should get something close to the stone texture of the bricks on this texture. I tweaked it a lot to get the effect I wanted.

Here are my diffuse, specular, and normal maps.

I then took all of the assets, (textures and meshes) into UDK to compile them together and take them for a testdrive. Here is what they look like so far.

The pillar

The wall, and border
(I built the border after, I will show stuff about that in the next post.)

Well that is all for now. I should have floor plans and have the level started by tomorrow. I also should have more assets finished.

Until then, stay tuned!

Sunday, July 24, 2011

More Environments

Here are the environments I did today and yesterday.

Snow and Jungle..

After I did the snow scene, I watched some tutorials on youtube. I think that they really helped me understand depth much better. Here is one of the ones that I watched


I made a progress animation for the snow scene. 

Click on it to view the animation.


Friday, July 22, 2011

Princess Concept Sheet

I wanted to do a couple paintings of strong female characters, I decided on princesses.
Some are more princessey than others...

The process was the same as the creature concepts.

Click on images to see larger versions.


Thursday, July 21, 2011

Creature Concepts

Hey, here is a creature concept sheet I finished yesterday.

I have some work in progress pictures for some of the creatures, along with a little commentary on the process..


I started with a silhouette for each of these. Then I put a gradient over the silhouette and started painting over it.
And lastly I used a color layer to color the painting. I used a warm/cool pallet for the skeleton and ogre. 
This helped to push the difference between different sections.


Desert Mountain

Here is an environment painting I finished this morning.

I saved it in stages so that you and I can see the progress.

I always like seeing stuff like this from concept to creation...


Here is my initial sketch, very loose and fast, all I knew at this point was that I wanted this to be a desert environment
I decided early on that I wanted to have a strong light coming in from behind the view and to the left.

I was still relying on the linework at this point to define forms
After I was somewhat satisfied with the look I pasted the painting above the linework.

I then just kept on sharpening edges and pushing the contrast in the forground and midground until everything looked sharp enough to be finished.


Hello World...

This blog is going to track my artistic journey.
I want it to track my progress so that I can examine my process and technique.

Maybe this blog will be of use to someone else in some way, only time will tell...

Lorin Olsen